TV calibration – don't pay for what you don't need
Updated March 25, 2026
TV calibration has become a controversial topic, even making the headlines. Consumers are often sold expensive calibration services alongside a new TV, sometimes based on misleading claims. Verkkokauppa.com’s resident expert, Aleksi Saarivirta, explains how to easily adjust your TV settings yourself and what you actually get for your money when investing in better picture quality.
Calibration by a true professional

Aleksi Saarivirta is a Sales Specialist at the Verkkokauppa.com Pirkkala store, helping customers find the right products for their needs. While computers and TVs are his primary areas of expertise, his personal interests also make him an expert in music and sports equipment.
Calling Saarivirta a TV calibration expert is no exaggeration; he has been calibrating TVs professionally for as long as the service has existed in Finland, before joining Verkkokauppa.com in spring 2021. Although his professional calibration days are behind him, his passion for picture quality remains—Saarivirta still enjoys fine-tuning his own TVs, as well as those of friends and family whenever needed.
Why calibrate your TV?
Every TV manufacturer has their own idea of what makes a great picture, and they usually compete on brightness. When a customer looks at a row of TVs in a store, the brightest screen naturally stands out. However, according to Saarivirta, the brightest setting isn't necessarily what filmmakers intended.
TV panels vary by manufacturer and can even have slight individual differences. According to Saarivirta, calibration aims to neutralize these differences and ensure the picture looks exactly as the filmmakers intended. Calibration is performed for specific picture modes, such as Cinema mode, to optimize the viewing experience for movies. These settings are not applied when watching other content, like sports or news.
Is professional calibration worth it?
Saarivirta doesn't completely rule out professional calibration services but emphasizes that most viewers can significantly improve their TV's picture quality with just a little DIY effort. He recommends professional calibration specifically for those seeking near-perfection, as an untrained eye may not even notice the difference. Whether calibrating professionally or at home, the process starts with the same basic visual adjustments. According to Saarivirta, manual home adjustments can achieve 90% of the ideal result, while professional equipment is used to fine-tune the remaining 10%.
Professional calibration service or your own home equipment?
If you're a true picture quality enthusiast, you can either purchase a calibration service from an electronics retailer when buying a TV or invest in your own home calibration equipment. While buying the equipment is more expensive upfront, it allows you to calibrate all your current and future TVs and monitors. Calibrating at home also lets you adjust the brightness based on your specific room lighting. In contrast, a pre-purchase calibration service is performed elsewhere; while standardized, it doesn't account for the lighting conditions of your actual viewing environment.
The advantage of a professional service is the use of a signal generator to fine-tune the results, neutralizing potential discrepancies between different HDMI devices. Since these generators cost thousands of euros, they aren't a practical investment for most consumers—especially since the benefits are often too subtle for the untrained eye to notice. If you do opt for a professional service, ensure it includes adjustments made with a signal generator. Saarivirta notes that some services skip this step, meaning customers aren't getting full value for their money.
Especially when buying a budget TV, Saarivirta recommends skipping the calibration and putting those extra hundreds of euros toward a higher-quality television instead.
Basic home settings
- Better picture quality, quickly and easily
- Achieves 90% of the perfect result
- Equipment: TV's built-in settings
- Ideal for: Anyone looking for better picture quality
- Price: €0
Calibration service
- The TV is pre-calibrated before delivery, with brightness set to a fixed value rather than adjusted based on ambient lighting.
- Equipment: camera, software, and signal generator
- Ideal for: anyone seeking near-perfect picture quality
- Service price: €130–220
Home calibration
- Calibrating your TV at home allows you to adjust the brightness to suit your environment.
- Achieving the final professional touch requires a pattern generator.
- Equipment: camera and software
- Ideal for: those seeking near-perfect picture quality
- Equipment cost: approx. €350
Please note: Verkkokauppa.com does not offer calibration services.
How to adjust picture settings and calibrate your TV
Optimizing your picture settings for movies is a quick and easy process that only takes a few minutes. The more precise you want the result, the more adjustments you can make. Follow these instructions to find the level of calibration that works for you. Ensure you apply these settings for Standard Dynamic Range (SDR). For High Dynamic Range (HDR), Saarivirta recommends only enabling Movie Mode without further adjustments.
Phase I – Simple home adjustments
The first phase focuses on creating optimal viewing conditions: enabling Movie Mode, adjusting backlight brightness, and applying these settings to all inputs. While Movie Mode is enough for many, completing all the steps in Phase I gets you 80% of the way to a perfect picture—and it only takes a few clicks.
1. Optimize your environment
Factors unrelated to the TV itself can also impact your viewing experience. Saarivirta recommends closing the curtains and ensuring there are no bright lights behind you that could cause reflections on the screen.
When adjusting your TV settings, make sure to do so under the same lighting conditions you typically use for watching movies or series.
2. Enable Movie Mode
Almost all TVs feature some kind of movie mode or 'Filmmaker Mode'. 'Filmmaker Mode is a picture mode developed in collaboration with movie studios that aims for the same white balance used in professional studios,' says Saarivirta. Factory settings often make the TV picture look quite blue, so Filmmaker Mode adjusts the white balance to a more natural white.
Filmmaker Mode also disables the TV's automatic image enhancement features, which you can turn back on later if you wish. Simply enabling Movie Mode or Filmmaker Mode significantly improves the viewing experience compared to factory settings, which is often enough for most users.
3. Adjust the backlight brightness to your preference
The ideal backlight brightness depends on the ambient light in the room. For the best results, adjust the settings under the lighting conditions in which you typically watch TV.
Saarivirta prefers setting the living room backlight to near-maximum brightness, while keeping it dimmer in the bedroom: "In the bedroom, we usually watch TV later in the evening with the curtains closed, so it can be much dimmer." Saarivirta emphasizes that there is no single "correct" brightness setting—it's best to trust your own eyes.
Copy settings to all inputs
According to Saarivirta, most TVs feature a setting that allows you to copy your current adjustments to all other inputs. This means brightness settings applied in YouTube, for instance, will carry over to all HDMI ports, TV channels, and Netflix. Keep in mind that these settings are specifically for Movie or Filmmaker mode; they won't activate automatically across all inputs unless you switch to that specific picture mode.
Phase II – Advanced home settings
In the second phase, use test patterns to adjust brightness and contrast and apply other image enhancements. Note that 'brightness' here refers to black levels, rather than the backlight intensity adjusted in the previous step. These settings get you 90% of the way there; the final 10% requires professional calibration equipment.
4. Adjust brightness and contrast using test patterns
Brightness and contrast have their own specific test patterns. Ensure you use high-quality images for the best results. According to Saarivirta, YouTube videos, for instance, are known for inaccurate image reproduction and should be avoided.
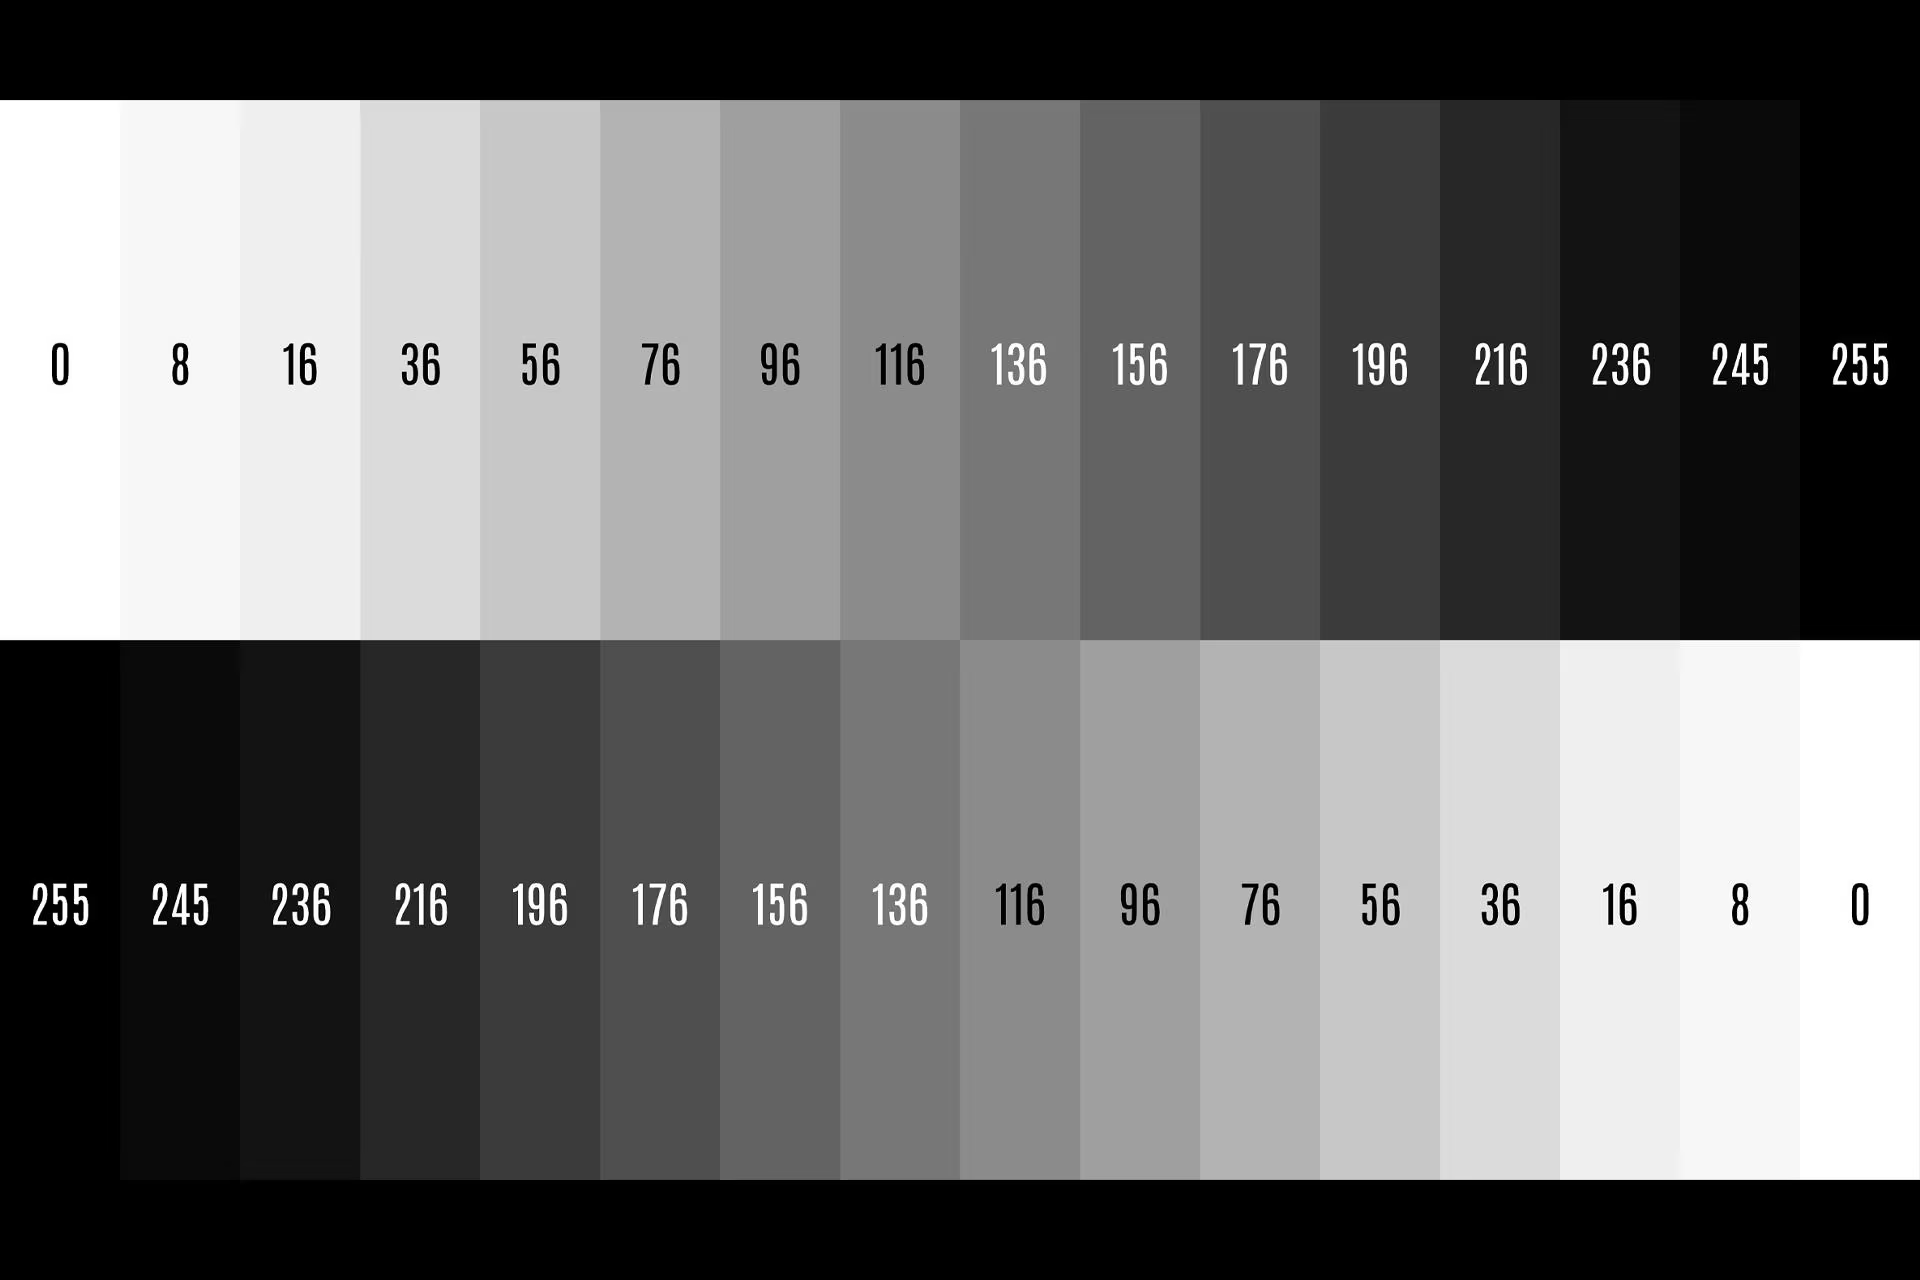
Brightness adjustment (black level)
The test image displays shades from black to gray against a black background. Adjust the settings to make as many gray shades visible as possible without turning the black background gray.

Contrast adjustment
The test image displays shades ranging from gray to white on a white background. Adjust the settings to make as many shades of gray visible as possible without losing peak brightness or causing the background to turn gray.
Apply your brightness and contrast settings to all inputs.
5. Motion processing and other image enhancements
Filmmaker Mode disables automatic image enhancements like motion processing. "When a moving image consists of 30 frames per second, this setting controls how the TV interpolates extra frames to smooth out the motion," Saarivirta explains. According to Saarivirta, using these enhancements is a matter of preference. He uses them for sports to ensure smoother movement but keeps them off for movies. They can cause occasional artifacts in films or series not designed for them. Furthermore, many argue that these enhancements create a 'soap opera effect,' making high-quality content look like it was shot on a cheap camera. Different manufacturers use different names for these features; for instance, LG calls it "TruMotion".
Phase III – introducing hardware, though you can still manage without it
At this stage, you can start using calibration hardware if you have it, but white balance can be adjusted sufficiently for home use even without specialized equipment. If you purchase a calibration device, you will also need a computer and compatible software for the sensor. Sensors and software are sold both separately and as a bundle.
Professional calibration services also use a signal generator, but since these are too expensive for most consumers, we won't cover them here. While calibration devices can also adjust colors, Saarivirta advises against it without a signal generator: "Unless you have a highly trained eye, you'll hardly notice the difference." He even questions whether it's worth adjusting them on a home TV at all.
6. Adjust white balance – with or without equipment
You shouldn't try to adjust white balance too precisely by eye. Without equipment, simply choosing a preset—usually a warmer one—is enough. "It might look a bit yellowish at first, but if you step out of the room for a moment and come back, you'll realize it's actually white, whereas factory settings are often quite blue," Saarivirta explains.
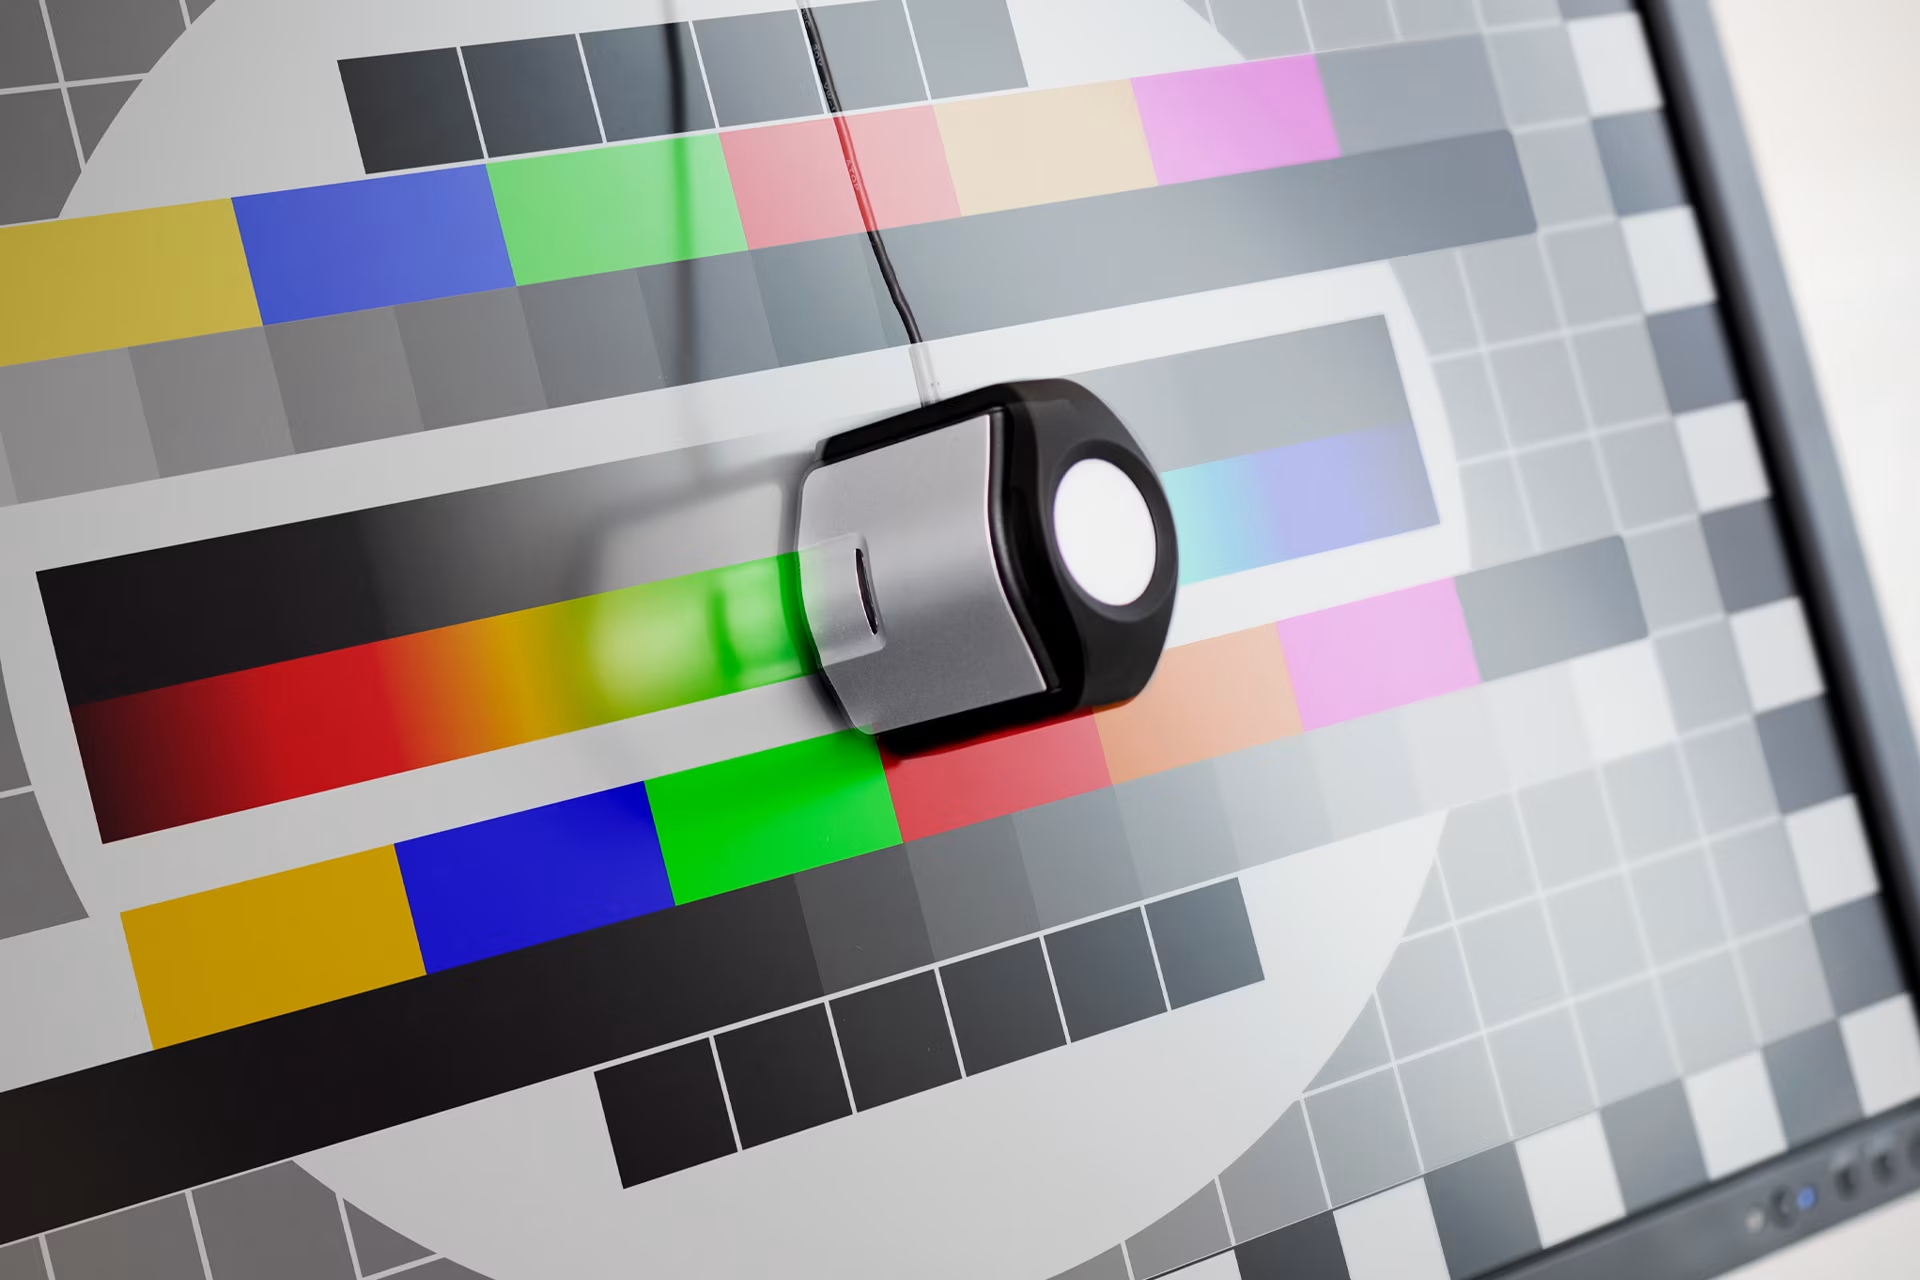
With professional equipment, you can fine-tune the white balance in great detail. Calibration involves connecting a computer to the TV, placing a sensor in front of the screen, and adjusting the settings based on test patterns as guided by the software.
Verkkokauppa.com recommends
Apple TV features built-in color calibration. It displays test patterns while an iPhone acts as a camera, allowing the device to automatically adjust settings. According to Saarivirta, the results are significantly better than factory defaults, though not quite at professional calibration levels. These settings only apply when watching content through Apple TV and cannot be copied to other inputs.
HDR picture settings and calibration
Standard TV broadcasts use Standard Dynamic Range (SDR), but many modern TVs support High Dynamic Range (HDR) for movies produced with high dynamic range. HDR offers increased brightness and contrast, providing a wider range between the brightest and darkest tones. According to Saarivirta, you shouldn't manually adjust HDR settings at home; instead, simply enable HDR Cinema or Filmmaker Mode. "In HDR, you shouldn't even adjust the backlight, as the goal is to achieve maximum brightness and the greatest possible range between dark and light," Saarivirta explains. These modes can only be activated while the TV is playing HDR content, and an on-screen notification usually confirms when an HDR signal is active.
Give us feedback – was this article helpful?
We’d love to hear from you! Rate this article on a scale of 1–5 and let us know how we could make it even better.
Give feedback (Ulkoinen palvelu) (Avautuu uuteen välilehteen)