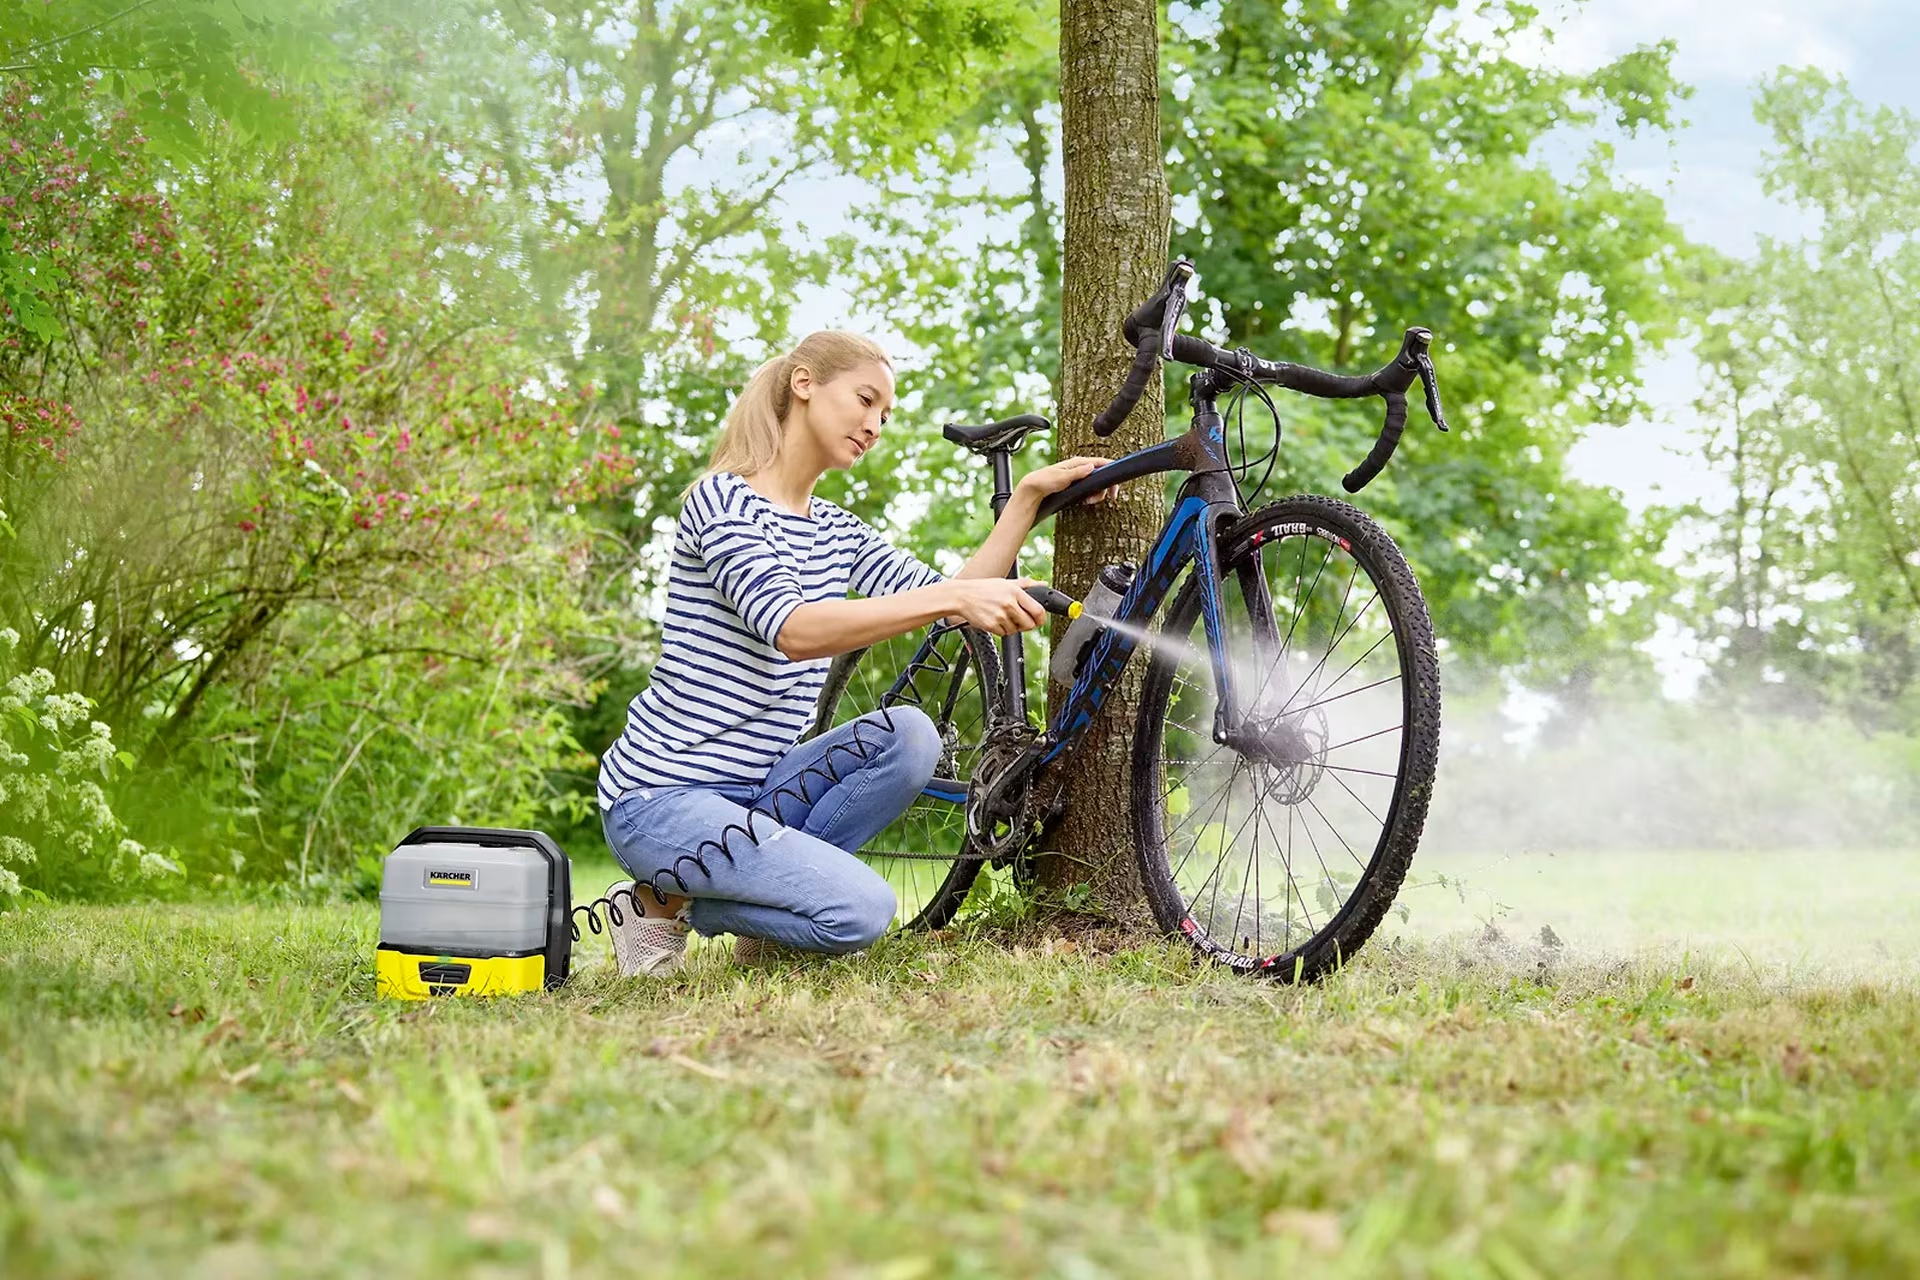
5 tips for DIY spring bike maintenance
When taking your bike out for the first time after winter, there are a few things you should check to ensure everything is ready for your first spring ride. Regular maintenance helps your bike retain its value, keeps parts in good condition longer, and saves you money. You can save even more by handling basic maintenance yourself instead of taking it to a shop every time. Use these tips to perform your own spring maintenance and get ready for the new season!
1. Check your brakes
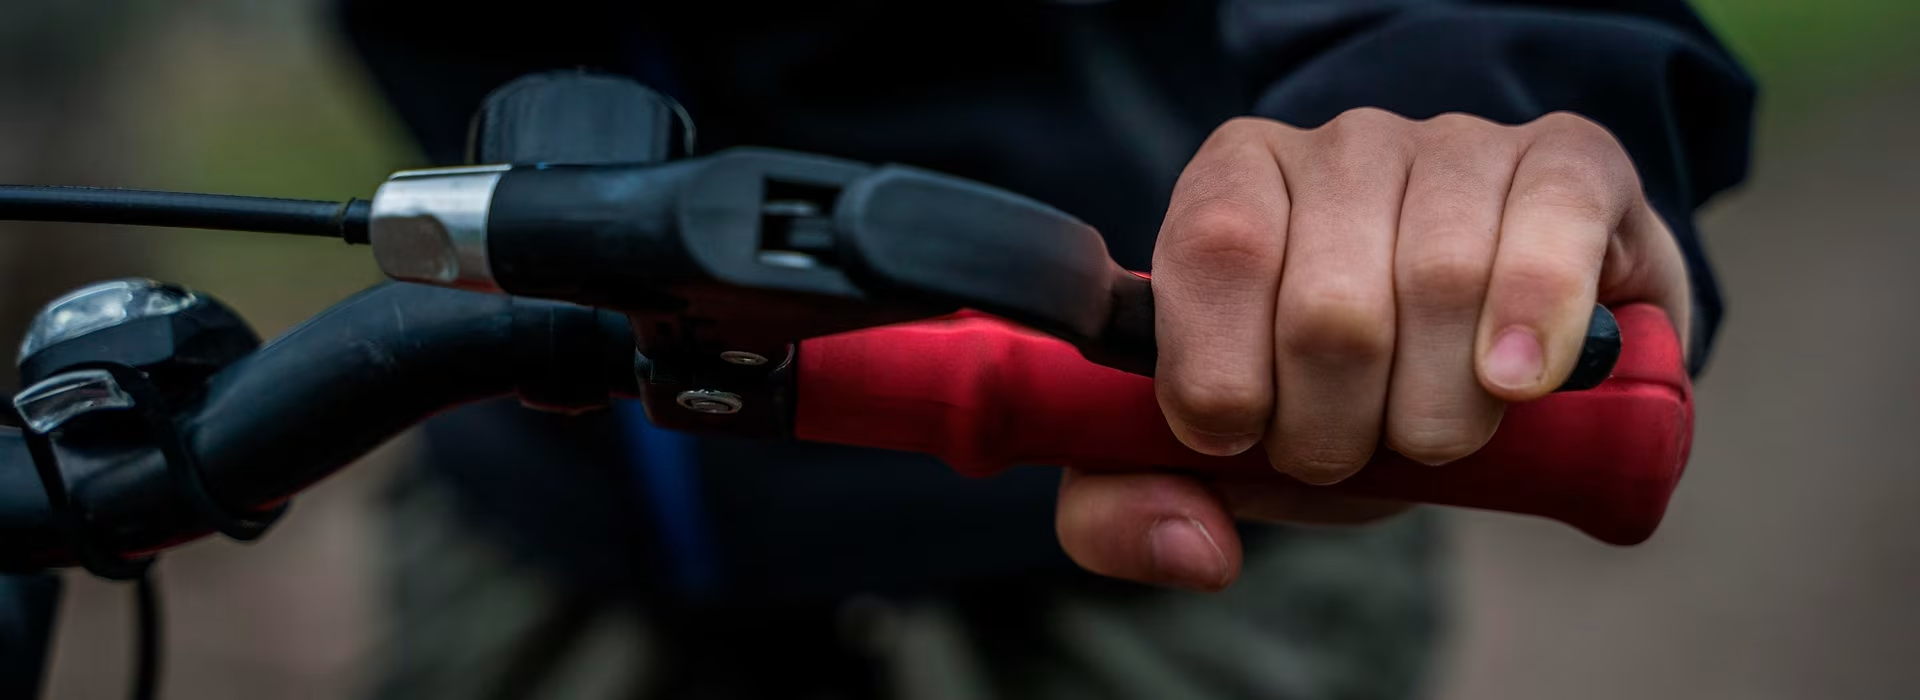
Check your brakes before every ride, especially before longer trips. If the bike stops quickly and effectively without squeaking or other noises, your brakes are in good condition and don't need immediate maintenance. Note that if the bike has been unused for a long time, such as over winter, the brakes might feel sluggish at first but will improve with use. Take a few test rides before heading out on a longer journey.
By law, every bicycle must have functioning brakes. Riding with faulty brakes is not only dangerous but also illegal, and can result in a 40-euro traffic fine.
If you notice a significant drop in braking power or hear unusual noises, it's time to replace the brake pads and check the condition of the brake rotors. Rotors can be cleaned or replaced if necessary. Never use greasy detergents or cleaning agents on brakes, and ensure no chain oil gets on them.
2. Tighten screws and nuts
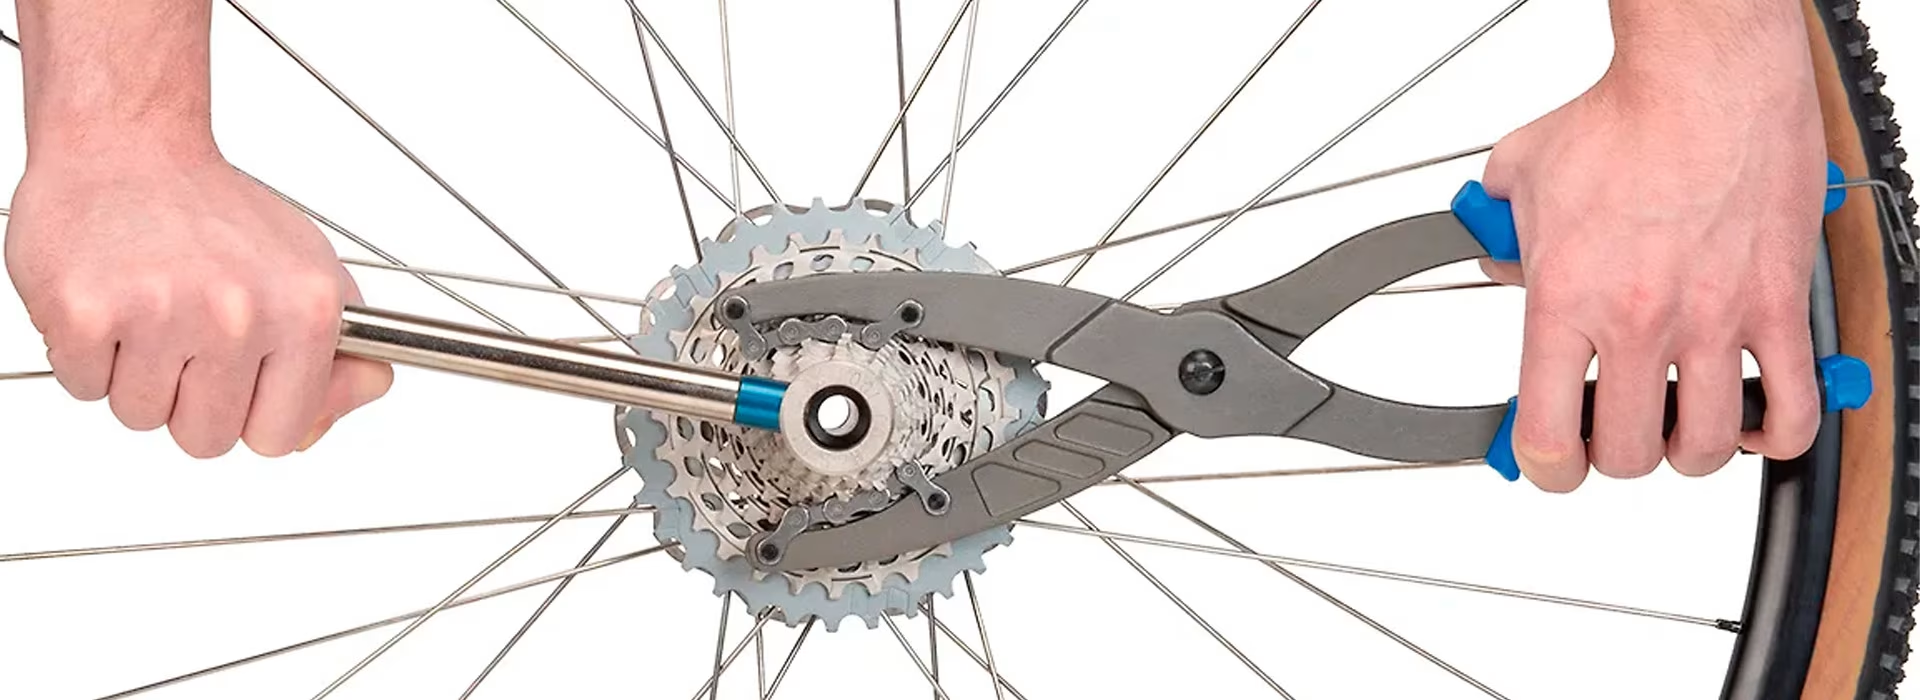
Shake the bike and listen for any unusual noises. Rattling or clanking often indicates that some components have loosened. Loose parts can be dangerous if they fail while you are riding.
Check the pedals, stem bolts, and wheel axles. If your bike has mudguards, make sure those are secure too. You can find a wide range of tools for tightening screws and nuts at Verkkokauppa.com.
3. Clean your bike and lubricate the chain
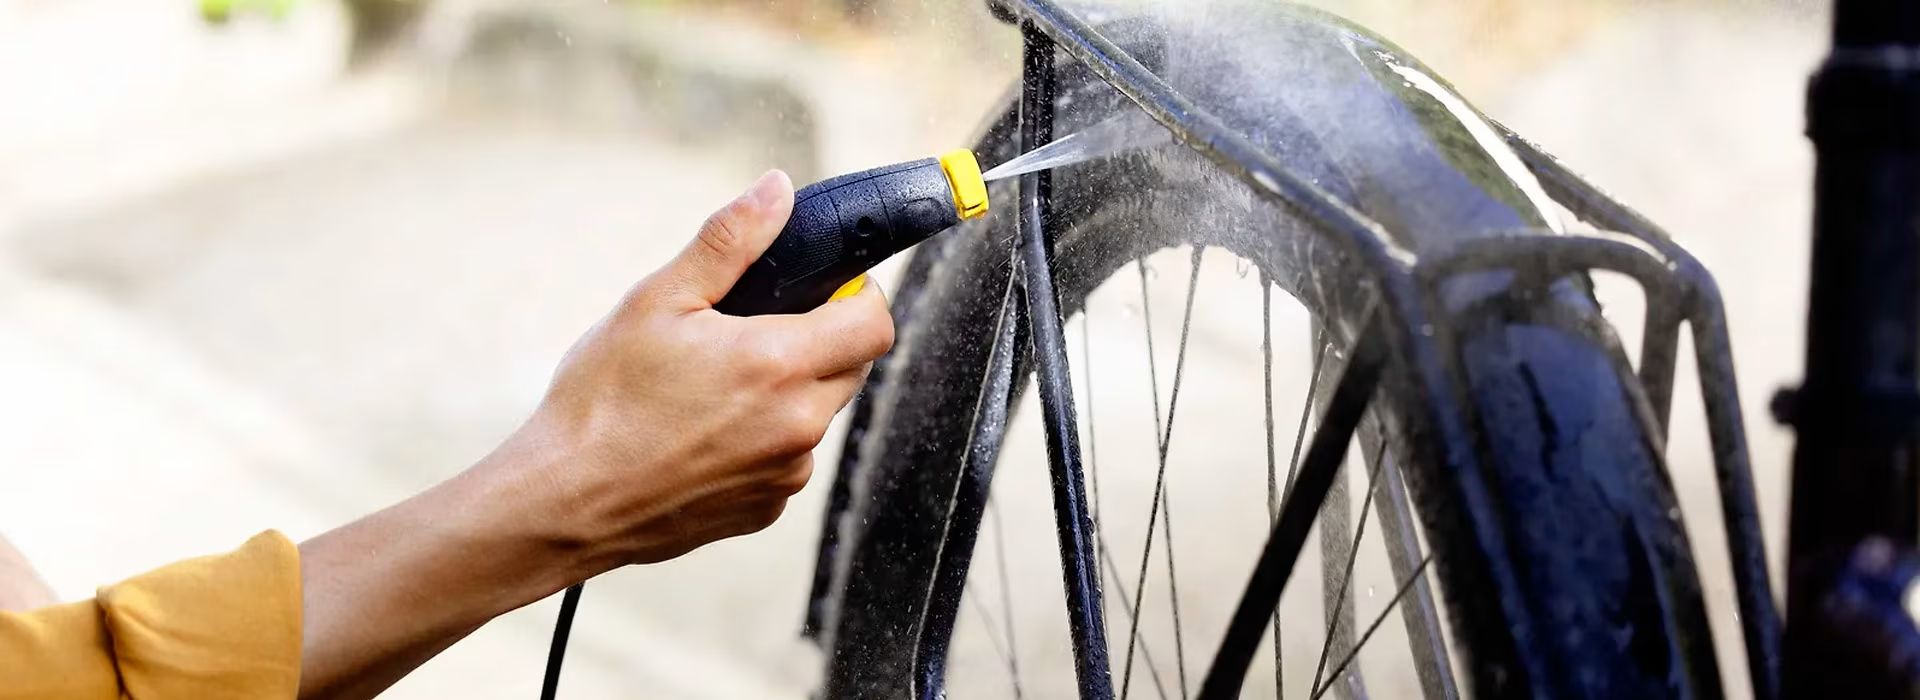
Regular cleaning is perhaps the most important part of bike maintenance. Dirt in the hubs and headset causes parts to wear out faster, so regular washing extends service intervals and saves you money. A clean bike also holds its value better. At the very least, you should clean and oil the chain regularly—adding oil to a dirty chain can cause even more wear.
Where can you wash your bike?
While those living in houses usually have access to a garden hose, it can be trickier for apartment dwellers—but not impossible. If you live in an apartment, consider getting a battery-powered, portable low-pressure washer designed for bikes. This allows you to rinse your bike in the courtyard without needing a nearby water source. High-pressure washers aren't generally recommended, but many gas stations have self-service bays where you can use one for a small fee. If you do use a high-pressure washer, be careful not to aim the jet directly at bearings or other sensitive components.
Electric bikes should not be cleaned with a hose or pressure washer to prevent water from entering the electrical systems. Instead of running water, use a cloth and various cleaning brushes to scrub tight spots clean.
How to wash your bike
1. Rinse the bike thoroughly, but avoid spraying water directly onto sensitive components like the bottom bracket, hubs, and headset.
2. Spray cleaner onto the frame, chain, and cassette, then let it sit for a moment. Note that different components may require specific cleaning agents.
3. Clean the chain using a chain brush or cleaner, or use an old toothbrush for the job.
4. Scrub away stubborn dirt from the frame with a sponge.
5. Give the bike a final rinse!
Once clean, protect your bike with a wear-resistant and moisture-repellent coating. Finally, remember to lubricate the chain, as clean, unlubricated chains rust easily. Chain lubricants are available in both spray and dropper bottles. Rotate the chain counter-clockwise while applying the oil. A dropper bottle makes it easy to ensure every link is lubricated without over-applying. Let the oil soak in, then wipe off any excess. Our selection of bike cleaning and maintenance products will help you get your ride back to its best!
4. Check the condition of your tires
Check that your tires have enough tread. Worn tires are particularly prone to punctures from road grit in the spring and autumn. While small cracks on the sidewalls aren't necessarily a problem, you should get new tires if the old ones are badly cracked or worn. Road grit easily penetrates thin tires, so puncture-protected tires are a smart choice for spring and autumn riding. Night frosts can persist late into spring and return early in the autumn; if you commute early in the morning when it's still slippery, winter tires (studded or friction tires) will help you stay upright.
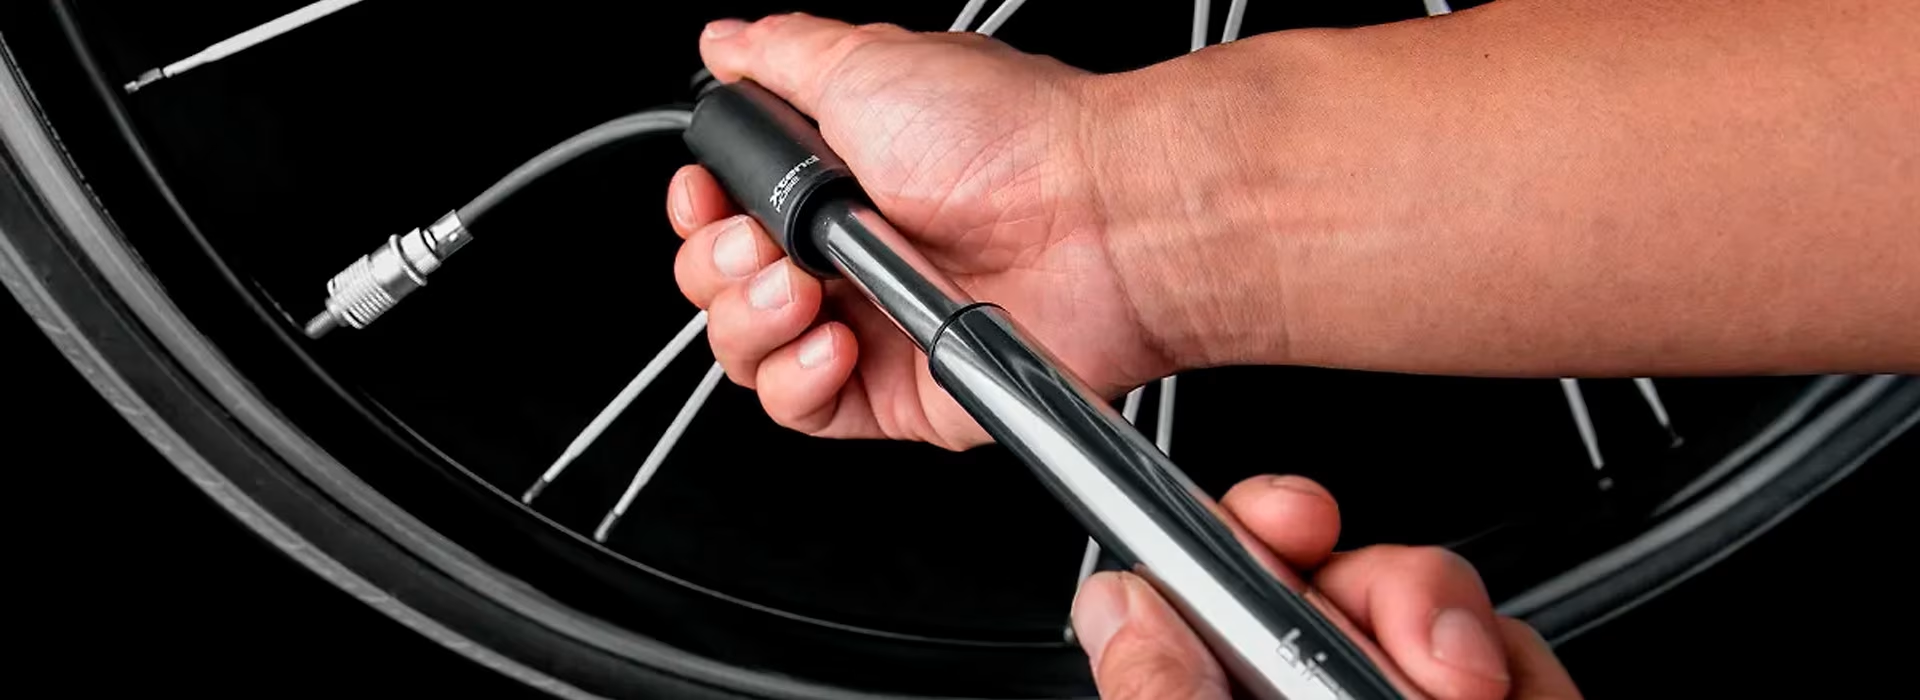
Inflate the tires. Tire sidewalls usually list the recommended minimum and maximum pressure. A floor pump with a pressure gauge is a great tool to have at home to ensure you get the pressure just right. Maximum tire pressure is rarely the optimal riding pressure. Over-inflated tires are uncomfortable, offer poor grip, and—contrary to popular belief—actually roll slower, especially on uneven surfaces. Rock-hard tires also allow grit and glass shards to press in more easily, causing punctures. Suitable tire pressure can range from just 0.5 bar for fat bikes to up to 8 bar for road bikes.
It's worth carrying a smaller pump on longer rides in case your tire pressure drops. Whether you need a floor pump, a mini pump, or an electric pump, you can find them here.
You should also carry patching supplies in case of a flat. If your inner tube has been patched multiple times or is otherwise in poor condition, consider replacing the inner tube.
5. Check the condition of the saddle and grips
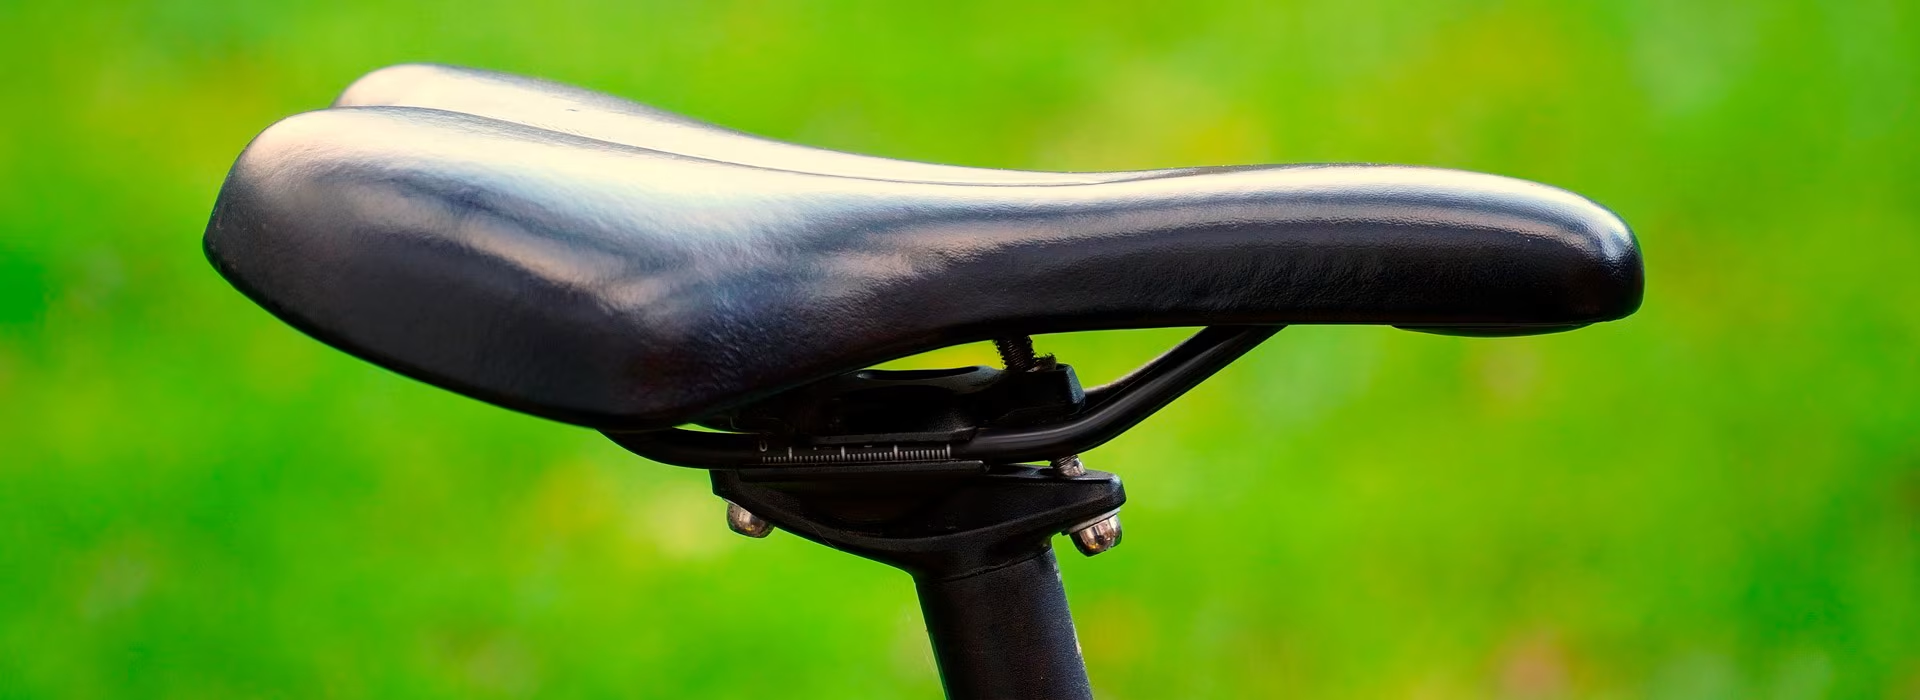
Grips, saddles, and other wear parts on bikes stored outdoors can deteriorate, reducing riding comfort. Explore our range of ergonomic, shock-absorbing grips and handlebar tapes designed for road bikes. While you're at it, check out our selection of comfortable saddles.
Give us feedback – was this article helpful?
We’d love to hear from you! Rate this article on a scale of 1–5 and let us know how we could make it even better.
Give feedback (Ulkoinen palvelu) (Avautuu uuteen välilehteen)